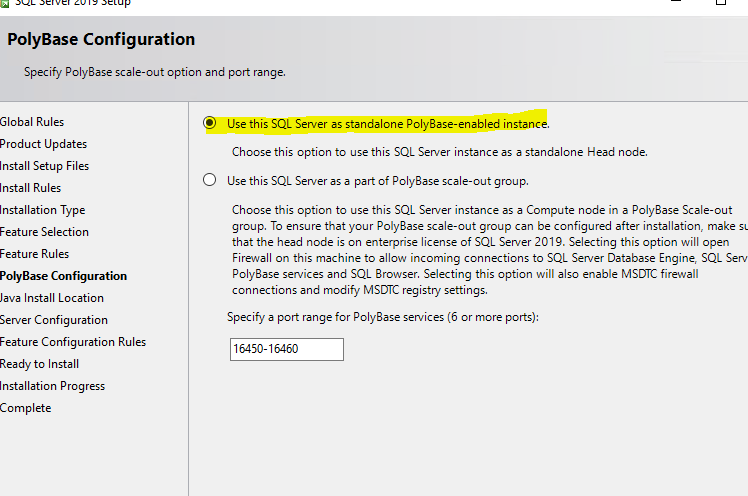
BI4Dynamics for BC Cloud installation comes in two steps:
Infrastructure part: installation of On-Premises Server
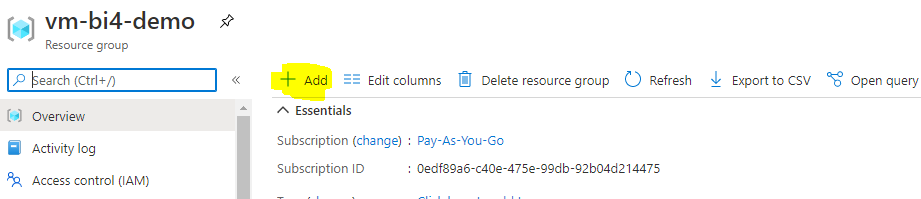
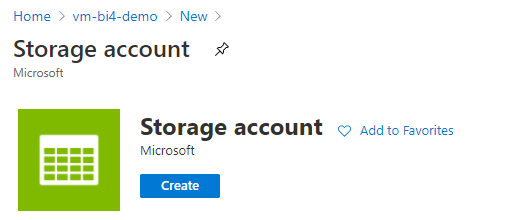
Resources must be prepared ahead of BI4Dynamics application installation. Installation is focused on settings of On-Premise Server and settings resources in Azure Portal.
Application part: installation of BI4Dynamics application
BI4Dynamics application on On-Premise Server is very similar to installation on Azure VM installation. Please head over to https://www.bi4dynamics.com to find the BI4Dynamics Application installation instructions document.
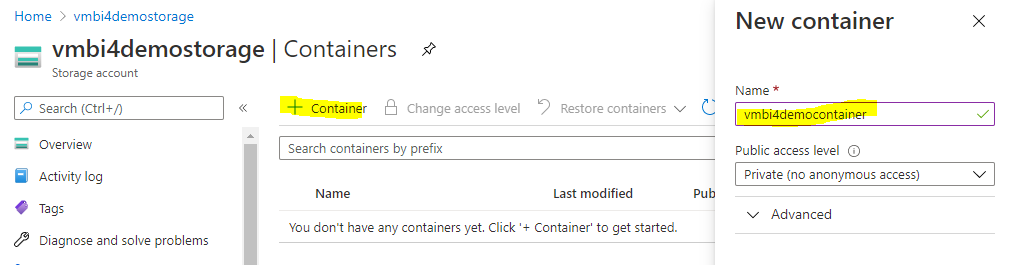
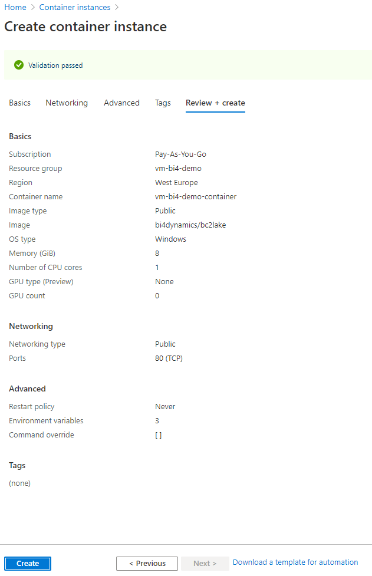
With these settings we will create a docker container (a light virtual machine) based on BI4Dynamics image that is used for running table export from BC to Blob storage. Docker will run at scheduled time and automatically shut down after finishing the export.
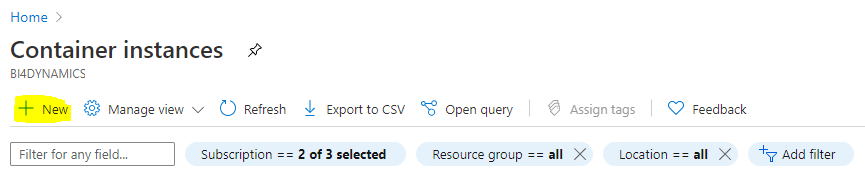
Go to Azure service, click Container instance
click + New to create a new container instance
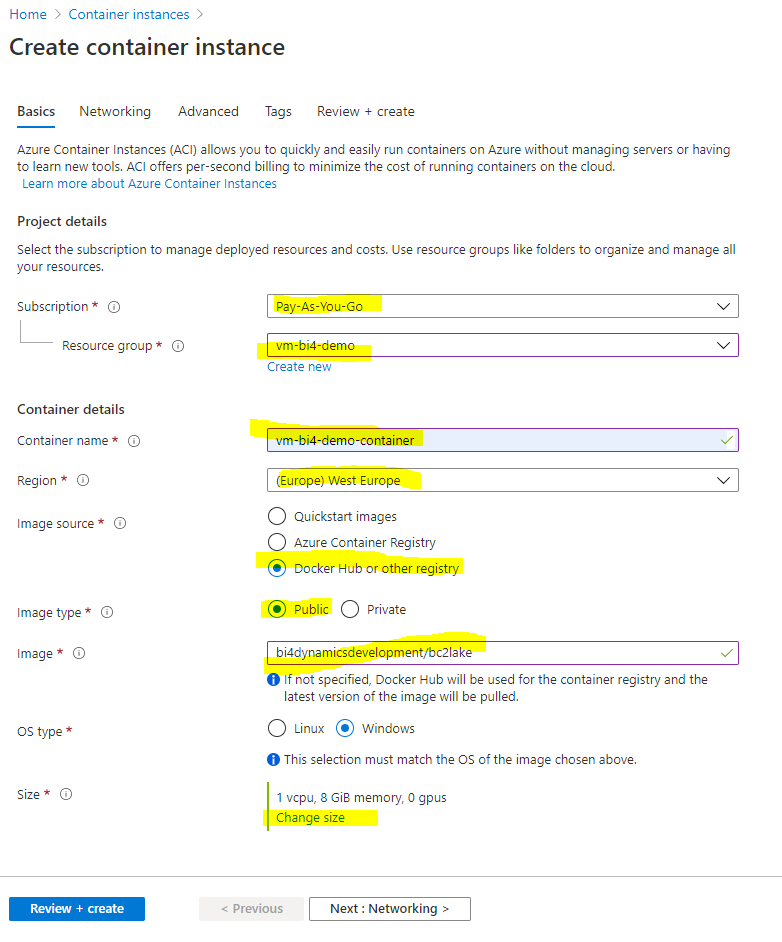
Select:
Subscription: Pay-As-You-Go
Resource group: vm-bi4-demo
Container name (any name): vm-bi4-demo-container
Region (same as BC)
Important: following settings
MUST be exactly like below:
Image source:
Docker Hub or other registry
Image type: Public
Image: bi4dynamicsdevelopment/bc2lake
OS Type:
Windows
Size change to
1vcpu, 8GiB memory (minimum)
Confirm change OK
Click Next: Networking
Click Next: Advanced
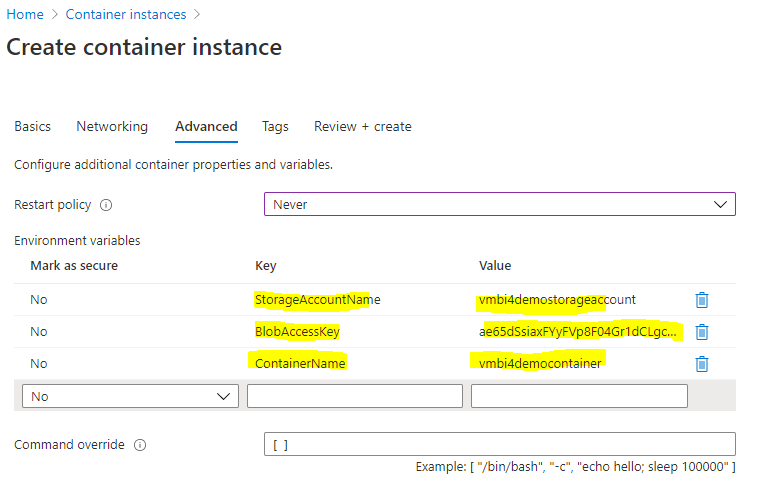
Under Advanced tab set the following
Restart policy: Never
Environment variables keys must be exact:
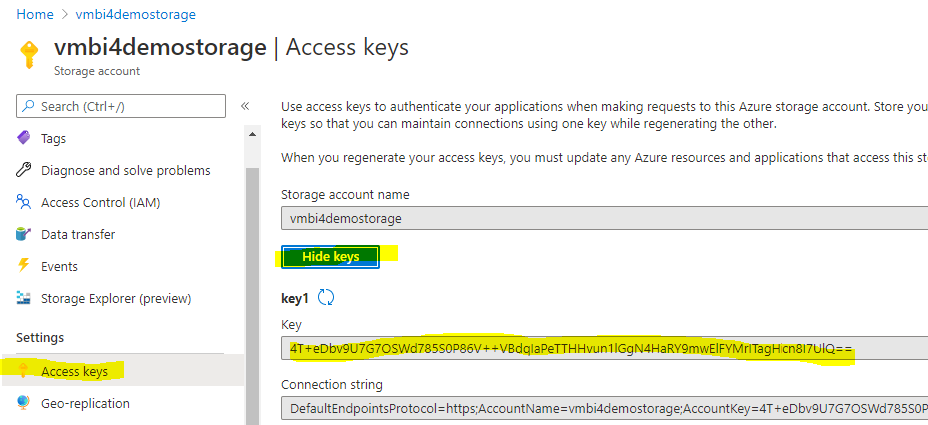
StorageAccountName enter the name of storage account that is used for Blob Storage
BlobAccessKey of the same storage account
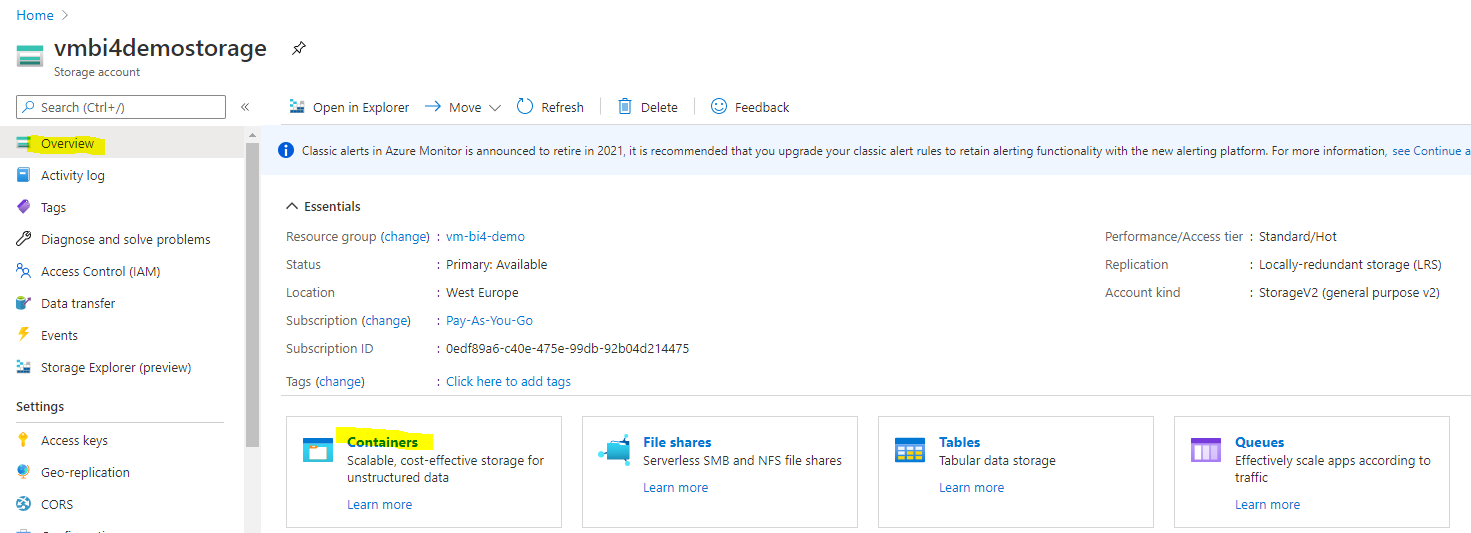
ContainerName of the storage account
These Keys and Values give Docker instance access to Blob Storage.
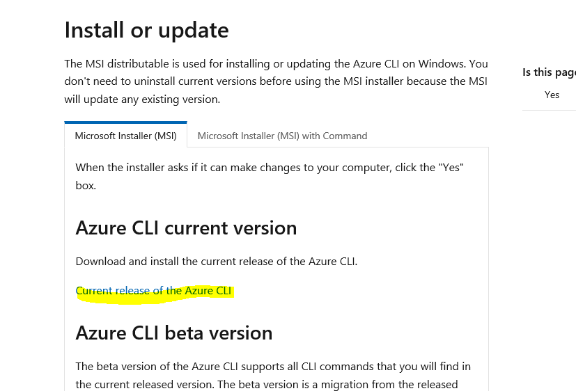
The Azure command-line interface (Azure CLI) is a set of commands used to create and manage Azure resources. The Azure CLI is available across Azure services and is designed to get you working quickly with Azure, with an emphasis on automation.
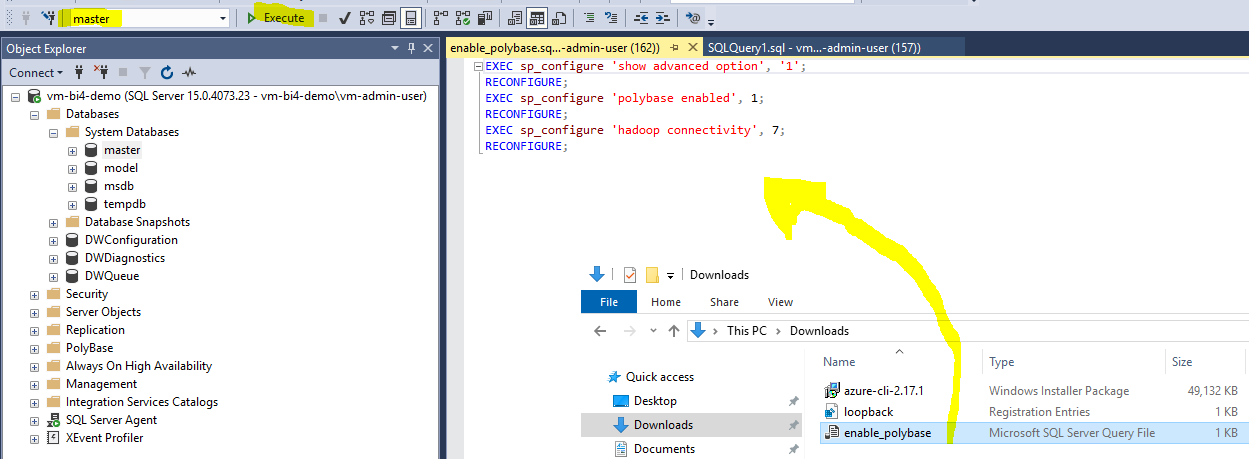
In this step we will add Azure modules that are needed for Azure authentication and registration. These are official Microsoft modules available on the internet. Process requires installation of NuGet provider, that will manage the packages. Download and installation is done by PowerShell.
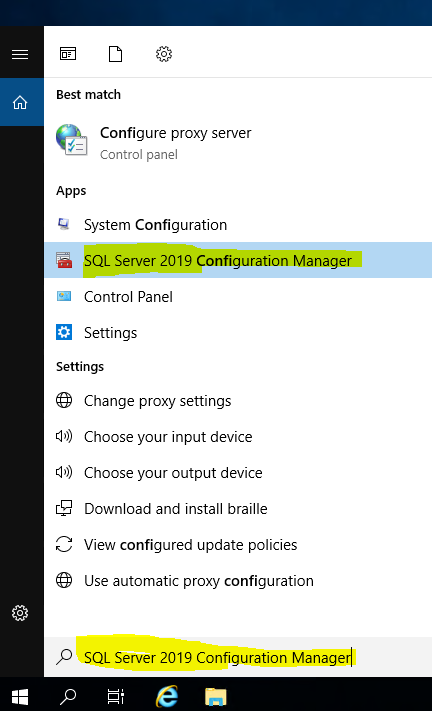
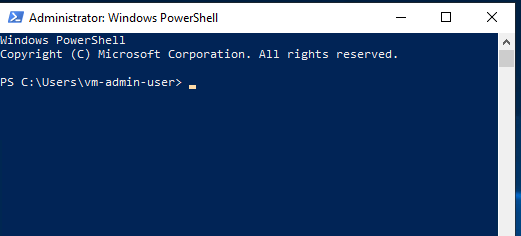
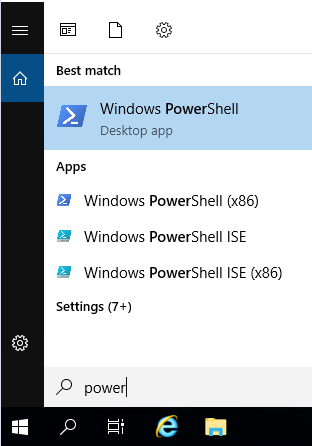
By typing windows search power open PowerShell, a desktop application:
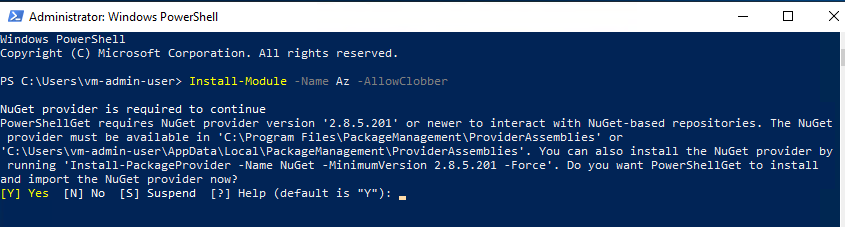
Run command (copy exact text): Install-Module –Name Az –AllowClobber
This message will display. Confirm “Y”
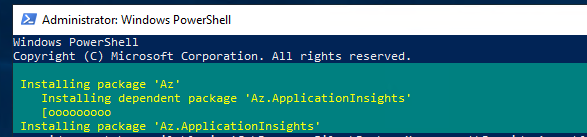
Process will need few minutes to complete…
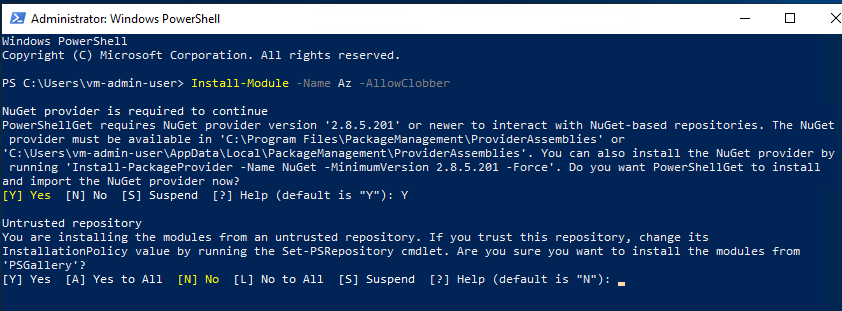
Another message will display. Confirm “Y”
During 2-minute installation, this window will be displayed:
Run command (copy exact text): Install-Module “AzureAD”
Confirm “Y” to install the package and close PowerShell.
You have successfully configured On-Premise server with required resources.